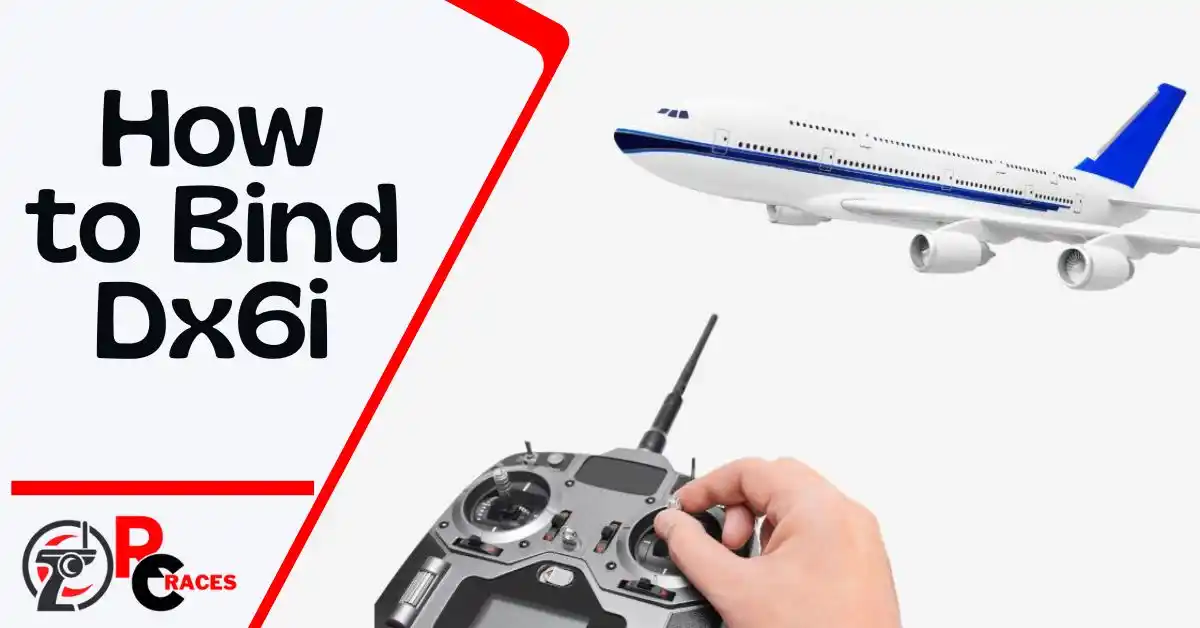
Binding the transmitters of Dx6i isn’t an easy task for everyone. You can never be successful without having proper knowledge because it would just damage your transmitter anytime!
So, how to bind dx6i?
To bind dx6i, you first need to install and set up the receiver. Then you install the servo motor. After that, you have to put in the bind plug and turn on the receiver. Then turn on the dx6i transmitter after that. Once you are done with that, you have to take off the bind plug and keep it in a safe place.
An overview you got so far is just a brief given primarily. But we have got here the entire process of how you do it.
So, get started now!
How Do I Bind The Dx6i Properly?
Binding the dx6i transmitter may sound to you actually and it is actually easy to do. But you need to know how to do it properly.
Due to a lack of knowledge, people often fail to do so. Thus, you get here all the steps to do it properly. So, here you go.
Step 1: Install And Set up The Receiver
First, you need to assess the receiver properly. The twin receiver, a two-path secure receiver used by the DSM2 compliant receiver operates.
On the core PC chip is where the basic receiver is located.
The other is attached to the system board via a 6″ extension and is the remote receiver. Now you need to apply a secure foam wrap to the central receiver.
Then the foam has to be bonded using foam glue. This would help it to hold the receiver properly in place. Use only the best foam glue for this project.
After that, install the second receiver now. It has to be a little off to the side of the servo tray. For this, the dual-path diversity will be improved as a result.
Then you need to remove the antennas from the basic or central antenna. A distance of 51 mm should separate themes. The receivers do this to keep a strong RF signal.
Step 2: Install The Servo Motor
Now, you need to set up the servo motor needed for the speed and torque. So, attach the motor with foam glue.
After that, you need to fasten the mounting screws that you got with the servo. You can follow the manual you got with the device. This can help you to get it right.
But make sure you do not overtighten the screws because the screws may get stuck. However, you can remove stuck screws easily if you know how to do so.
Remember that a water-resistant servo would be great for this. Because these can be generally long-lasting than the other servos.
So, are you wondering where to get one of those servos? Well, here is how you get it. Take a look.
| Product 1 | |
| Product 2 |
Hope this helps!
And after you are done with the motor installation, you go to the next one. This time you need to check your receiver connection.
See whether the receiver has got synced with the motor and speed control. If you think there might be any issues, fix them. You need to do it manually following the manual provided.
Step 3: Put in The Bind Plug
Now, take the bind plug that you got here and put it into the last port of the receiver. This port is known as the bind or batt pins of the receiver.
Remember that you may need to buy a bind plug for this. Because you may not get a bind plug with your device all the time. In that case, you need to make sure that you buy one on your own.
Step 4: Turn on Your Receiver
Now, you need to give power to the receiver to turn it back on. The way you get the source of power would be lipo batteries. Make sure the batteries are in good condition.
If the batteries are new, it would be better. However, it is not a problem in case using used or old batteries. Just make sure that the batteries are recharged.
If you face any issues recharging lipo batteries, fix that first and use it. Or, get a new pair of lipo batteries and connect the receiver.
Once you begin to connect the receiver to the batteries, it will start to bind. The time for this may take around 7 seconds at max.
If you notice the light starts to blink continuously, the binding mode activates. So, you need to wait until the light starts to blink.
Step 5: Turn on The Dx6i
This time you have to hold the trainer switch. In the meantime, you must switch on the power switch too. You may have to wait for a few seconds for it to connect.
Then the transmitter would be bound with the transmitter that is when the light would not be blinking anymore.
Rather, the light on the device would remain on and steady. When the light is steady, the operation is successful.
It means you have just bound your dx6i transmitter successfully. Now, you may get off the trainer switch.
However, if you see the light is not steady, there might be issues. That can be with the light if you are not that unfortunate.
But if you are unfortunate then there might be severe issues. There could be issues with the transmitter or the receiver.
In that case, you need to inspect the transmitter and the receiver and fix the issues to get on to the next step.
Remember that you can not bind your dx6i transmitter if you have any such severe issues.
Step 6: Take off The Bind Plug
Finally, you may now take off the binding plug. After that, you can keep it in a safe place to store it.
Now, you better see if your RC can go on properly. Hopefully, everything will be alright after following the steps properly.
So, this is how you can bind the dx6i transmitter. All the best in carrying out the steps!
FAQs
What are the receivers that go with the dx6i transmitters?
There are many receivers that can go with the dx6i transmitter. Receivers like Dsmr, Dsm2, and Dsmx are compatible with this transmitter. However, AR6200 is the one that works best with this transmitter. The range of this can go up to 1300 meters which is about 80 miles. But this receiver does not work for all the transmitters though.
Can I charge my dx6i transmitter?
No, you can not charge a dx6i transmitter. Because there is no way you can do it. Rather, you need to use removable batteries for these transmitters. You can take the battery off and recharge it to get it charged. This is how you can get your transmitter to work properly with charge.
Can I use the dx6i transmitter for other devices?
No, you can use the dx6i transmitter for other devices, unfortunately. In fact, you can not use any transmitter with any random device. This is because the program is set compatible with the device selected by default. If you want to use it with another device, you must reprogram it.
The Final Words
Now you know how to bind dx6i! We believe you understand what you need to do for this. You should not have any more confusion.
So, here is the last tip that you may need. You may think you can modify or set up any mechanism of your transmitter. But it is actually better not to go for any assumptions or pre-thoughts.
All the best!